
Feel free to use as you like, just don't sell my tutorial!
This tutorial is for a lined or reversible apron (If you put pockets on both sides). So you may use the same pattern fabric for both sides OR have a different pattern for each side. Making it lined takes more fabric, but it really makes for a better garment and is easier to make because you don't have to press the edges in and then sew.
The size of this apron is generous.
This tutorial assumes that anyone wanting to make it knows how to sew. Therefore I have not gone over every single step of the process. If anyone finds an error, please let me know!
If you don't know how to do something - Google it and I'll bet someone has posted the answer.
Supplies needed:
Fabric – two coordinating patterns – 1 1/4 yards of each pattern. (I will refer to them as A and B)
Optional - Wide or Jumbo Rick Rack – two packages (you don’t need all of both, but you need more than one package)
Optional - Buttons – At least four or other embellishments
Coordinating thread
All seams are no more than 1/2 inch - your choice.
Measurement of individual pieces:
RUFFLE – cut TWO (from both fabrics) 4 – 6 inches by 30 inches. Sewn end to end to make two 60 inch long pieces.
NECK TIE – cut one on the fold from either A or B fabric – 3 ¾ inches by 12 inches
WAIST TIES – cut two from either A or B fabric - 3 inches by 31 inches
POCKET – cut two from both fabrics – 10 inches by 14 inches (modify to appear like a rocker bottomed triangle) (I cut the pocket sections from the remaining fabric from the curve of the apron pattern piece.
NECKLINE EMBELLISHMENT - cut two from B fabric – 5 inches by 10 ½ inches (modify to a 10 ½ inch wide triangle)
BODY – cut 2 on the fold (30 inches by 30 inches piece of fabric) The shape of the apron measures likes this:
ON THE FOLD:

Approximately five inches from top edge the width is 8 ¾ inches wide.
Approximately eleven inches from top edge the width is 17 inches wide.
Approximately seventeen inches from the 11 inch mark – the width should be 18 inches. You will begin making a curved edge starting at 12” down from the 11 inch mark – between the 12” mark to the 18” mark at the fold you will make a gradual curve.
Cut out all pieces.


Sew RUFFLE -Right sides together, sew 60 inch pieces at the long side and ends. Sew the wide rick rack to finished edge of side B. Or sew the rick rack on the unfinished edge of side B so it is sandwiched between the two sides.


NOTE: After sewing the two ruffle sides together you may also create pleats rather than 'gathering' the fabric. (Pin right sides together to A at the right, center and left. Then, in each 'section' you will pin smaller, equal, sections. Each time you create a smaller section. When the sections are small enough you will have pleats. For me, this is a lot less frustrating than messing the creating a ruffle with a gathering foot or the heavy weight thread method.
Neck Tie: Fold the fabric in half, wrong sides together and press. Open and fold one side to center, press. Fold the other side to the center and press. Fold together, press and sew starting at the short side and continuing on the long side sew the edges together. Turn and press and top stitch. Set aside.


Sewing on ruffle:
Using Side A body pin on the ruffle – because you want the side B pattern showing when you place the ruffle it will be Side B facing side A. On the sides place the edges of ruffle so that they will not be caught in the seams later...indent a little more than 1/4 inch.


Sew two buttons on the neckline embellishment and two buttons on the pocket point so that the ‘flaps’ are secured in place.
Press. Make sure all pins are removed. Enjoy.
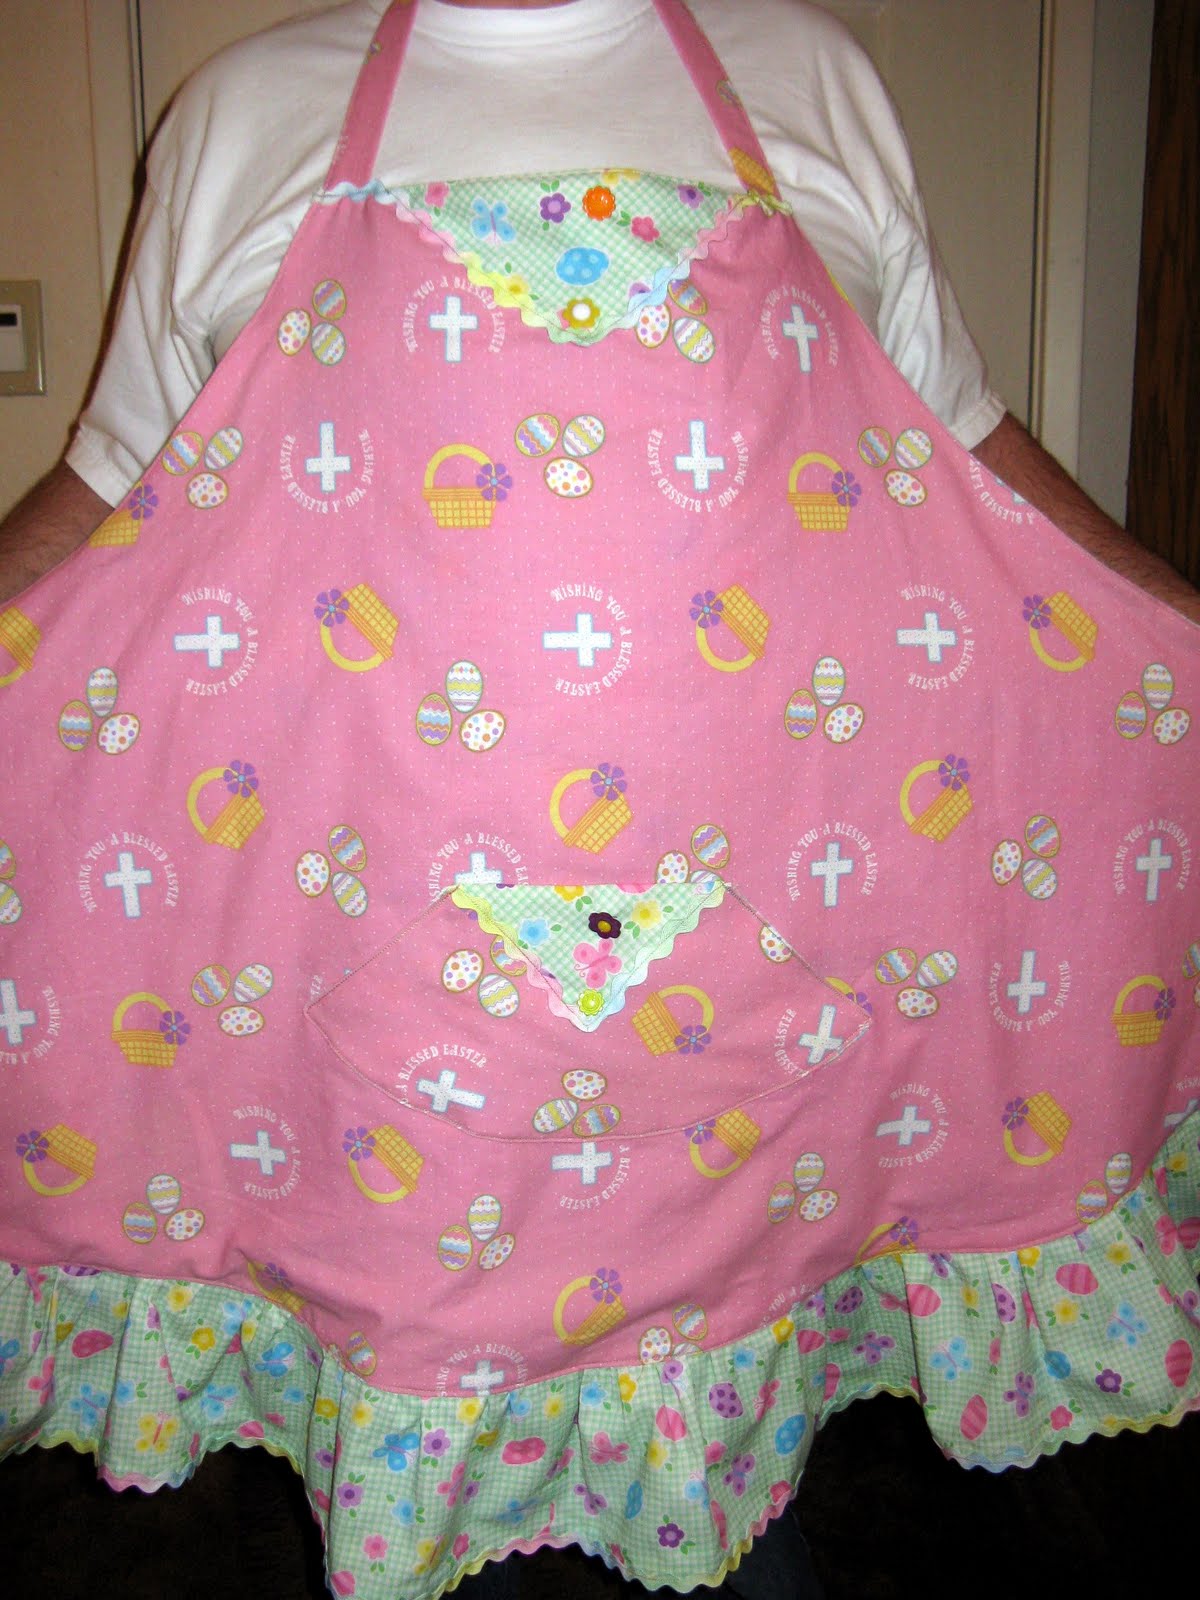
Here is photo of the finished apron.
What a wonderfully detailed tutorial! Thank you for all that hard work sharing it.
ReplyDeleteReally nice apron, check out my blog too. Love the ruffle at the bottom and pocket.
ReplyDeletehttp://nanasknoll.blogspot.com/